Track Attendance
After you create an event within Engage, you can track event participation manually (e.g. text entry, file upload), card swipe, or on your mobile phone. The easiest and most accessible way to track attendance is by using the Event Check-in App on your mobile phone. To use the Event Check-in App, follow these instructions.
Zoom Event Roster Upload
Instructions for Zoom Hosts
Hosts of Zoom meetings can now upload a CSV file containing event participants straight to Engage.
To Export a participant CSV file from Zoom:
- Navigate to appstate.zoom.us.
- Log into Zoom using your Appstate Shibboleth credentials.
- After logging in, Select "Reports" from the left-hand menu.
- Select "Usage."
- Select a date range within which your meeting(s) fell.
- Look for the "Participants" column. Select the number in this column for the meeting of interest.
- Select Export.
To upload a participant CSV file onto Engage:
- On Engage, select the event to which you want to upload attendance.
- Select Manage Event.
- Select Track Attendance.
- Select Add Attendance and File Upload.
- From the File Type drop-down menu, select Zoom.
- Select Choose File and pick the relevant CSV.
- Select Upload.
Event Check-in App
Instructions for Attendees
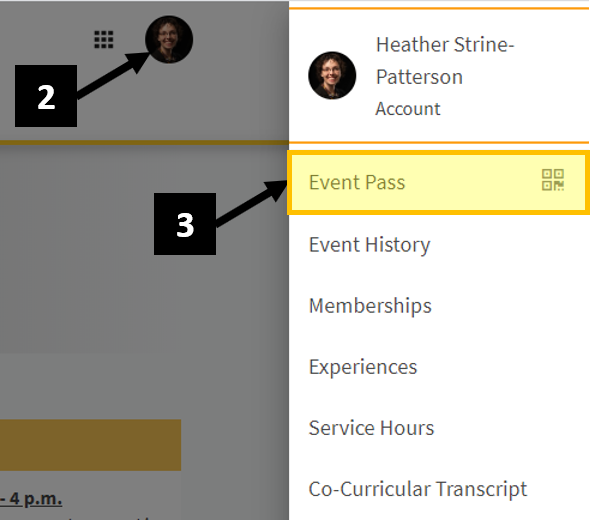
Attendees will need their Event Pass and can navigate to their Event Pass. The Event Pass can be shown from your mobile phone at the event. If you do not have a mobile phone, you can print your event pass and bring it with you.
- Log into Engage
- Select on your profile picture in the top right of the screen (it may display your first initial if you have not added a profile picture).
- Select Event Pass

Instructions for Checking-In Attendees
Note: Attendees do not need to download the Check-in app, the unique student QR code can be found on Engage through mobile browsers.
To check people into an event, you need to use the Campus Labs® Event Check-in app on your mobile device.
After downloading this app, anyone can check-in participants once the organization's Primary Contact or other leader provides the Event/Access Code.
- Open the Check-in app
- Enter the Event Code, provided by the organization's Primary Contact or a leader within the organization with full access to Events
- Select Start Session
- Login with App State Shibboleth credentials
- Select Start Scanning
- Scan attendees Event Pass with your phone's camera. Once you scan an attendee's Event Pass, it will display a box with their basic details, including their RSVP status.
- Tap Check-In to confirm the user and click OK to continue scanning.

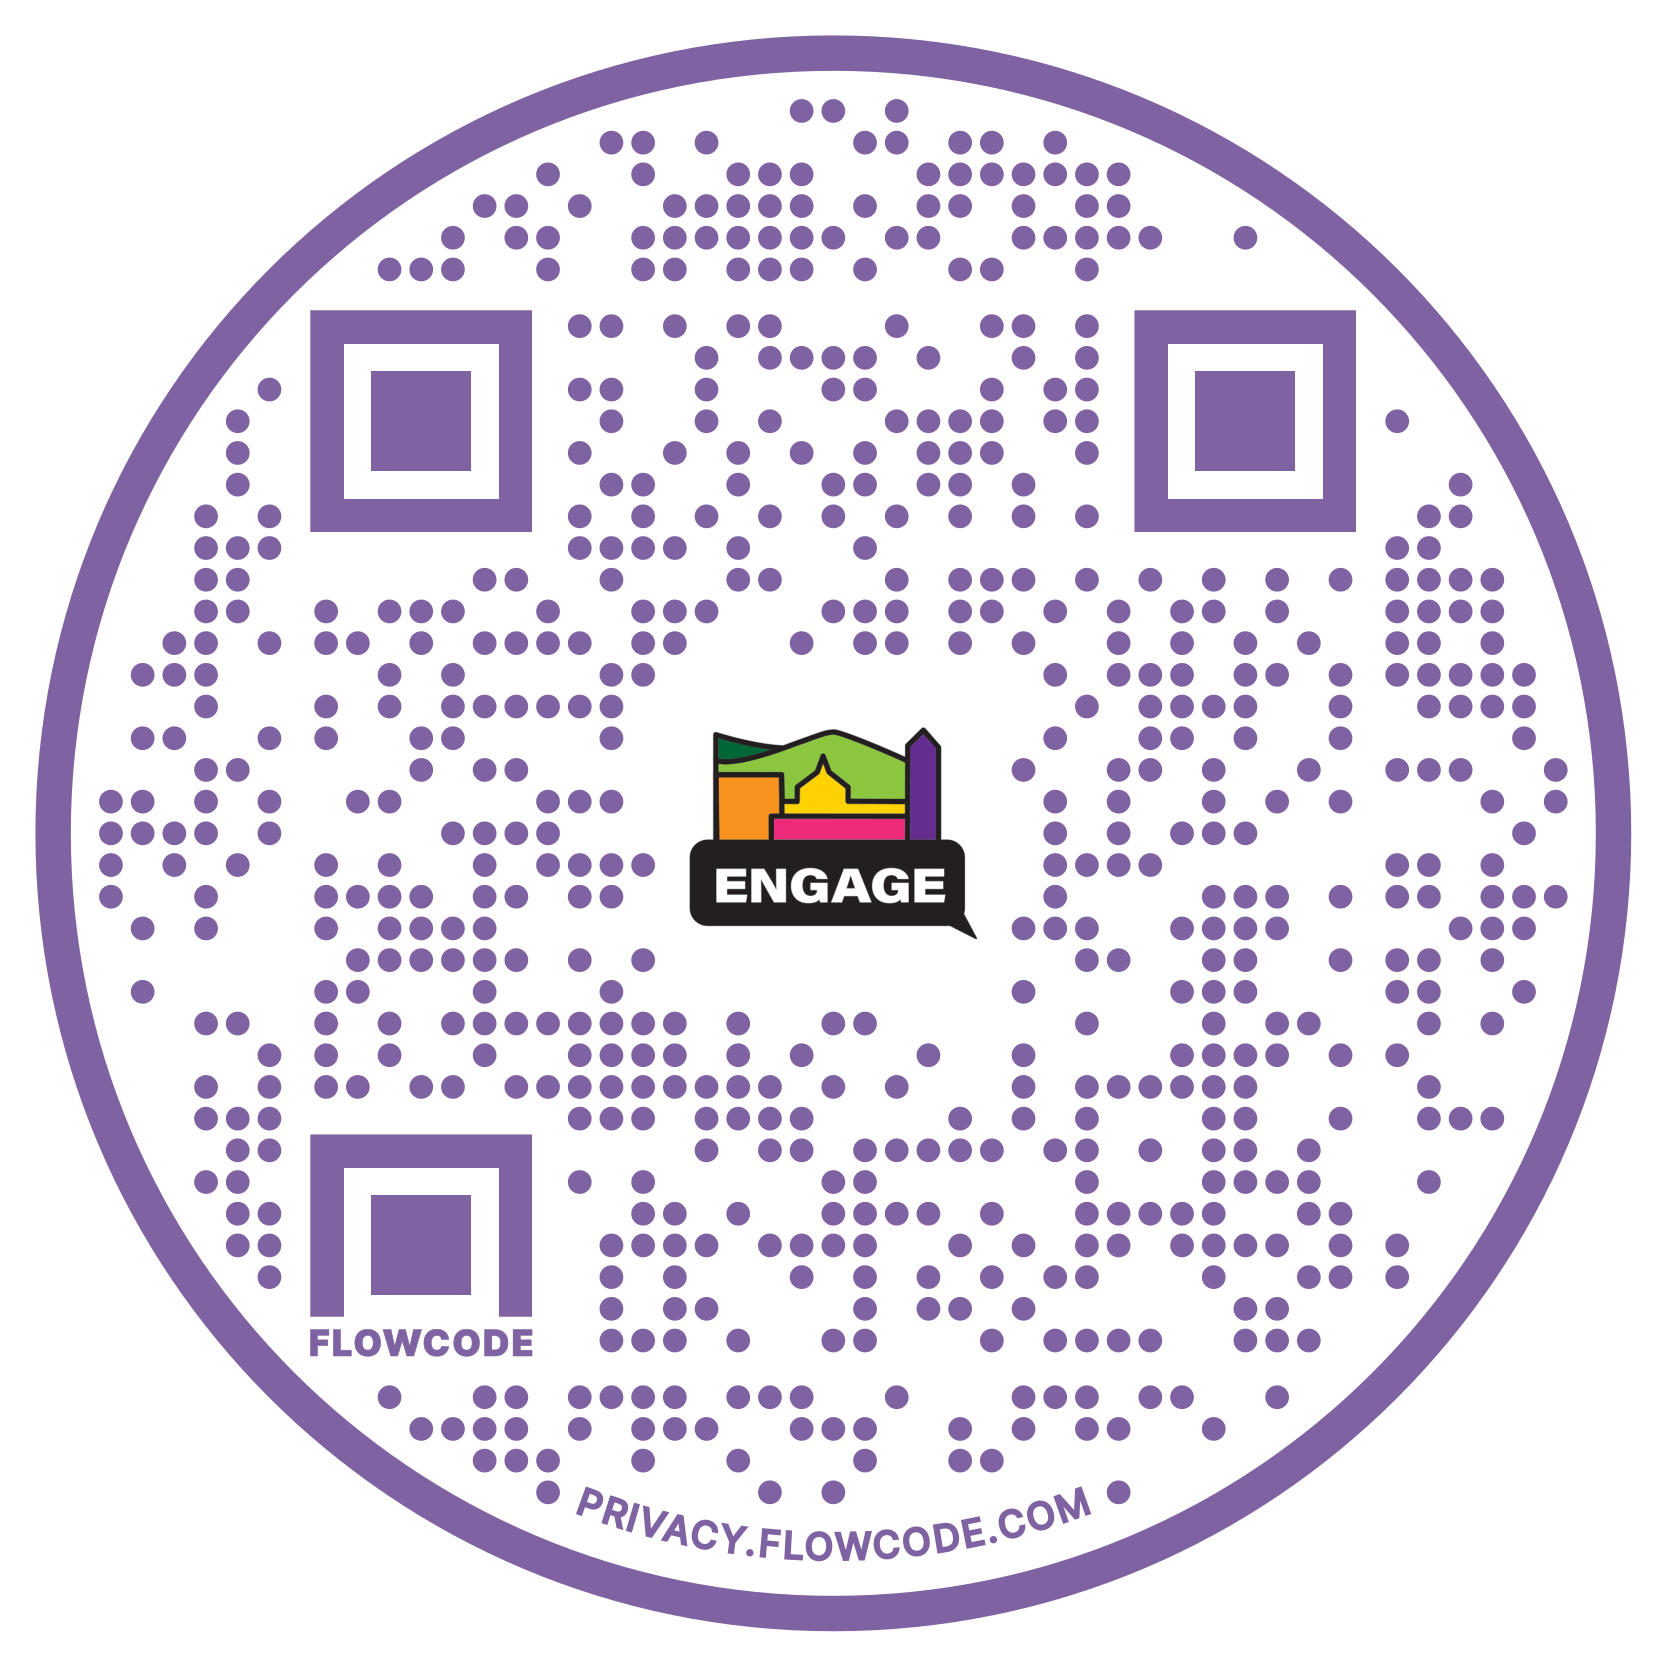
To expedite the check-in process, you can post the Engage Event Pass QR Code at check-in stations (See below). By scanning this QR code, attendees will be taken directly to the Engage Event Pass webpage, rather than teaching them how to navigate to the Event Pass through Engage.
If you need to check-in an ASU student, staff, or faculty without a mobile pass:
- Select Lookup in the lower navigation bar
- Type the individual's name or email address to find the appropriate person
- Tap on the appropriate person from the auto-populated list
- Select Check In
- Select the Scan button on the lower navigation bar to begin scanning in other attendees
If you come across a non-ASU attendee:
- Select the + sign in the upper right-hand corner
- Enter the attendee's email address
- Select Check In
- Select OK
- Select the Scan button on the lower navigation bar to begin scanning in other attendees
Resident Assistants: View the additional University Housing directions. (coming soon!)


